So far we have created a new file, entered some text and saved it. We have then closed and re-opened the document to show that it has been saved to the disk where it can be retrieved as needed. At this point, we are going to perform some formatting on the text to see what kinds of text styles can be applied to the document that we have written.
Formatting can be applied to new text that you enter, or it can be applied to already entered text. If you choose formatting commands prior to entering text, then having chosen the formatting command, any text that you type will have the selected formatting.
If you select some text, and then choose formatting commands, then the formatting will be applied to the selected text.
This next section will describe how to select text that you want to apply formatting to, and then to apply the formatting.
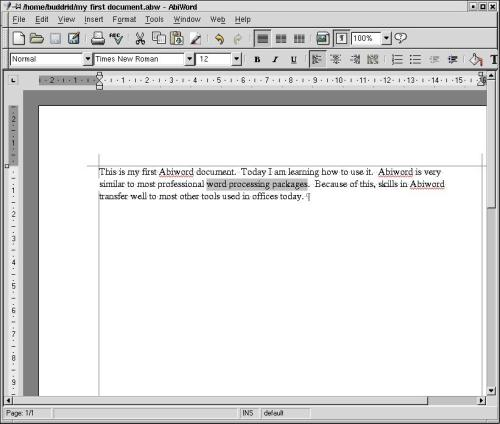
Point the mouse cursor at the start of the text you want to apply some formatting to.
Hold down the left mouse button.
Drag the mouse until it points at the end of the text that you want to apply formatting to.You should see something like this.
Having selected the text, any formatting commands that you select will be applied to the text that you have selected. Follow these instructions to apply formatting to the selected text.
Click on the Format menu and choose the Font option.The following dialogue box will be displayed.
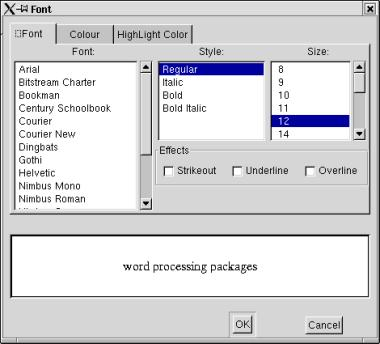
Note that the text that you have selected is displayed in the bottom section of the dialogue box. This allows us to get a preview of what will happen to the text when we click the OK button. Try clicking on different fonts to see the change that it makes on the selected text. You may also wish to experiment with the other tabs such as Colour and Highlight Color tabs.
Once you have finished choosing the font, colour and highlight colour that you want, click the OK button.Note that the text that you have selected has been changed according to the options you selected.
Abiword documents consist of a sequence of paragraphs. A new paragraph is created each time you press the Enter key. The end of each paragraph is marked with an end-of-paragraph marker. Normally, these markers are invisible by default, however you can make them visible. This is quite useful when you are working with multiple paragraph formats so that you can see clearly where one paragraph ends and another begins.
The easiest way to make the paragraph markers visible is to click the button on the toolbar. This is normally located near the right hand side of the main toolbar.

Make the paragraph markers visible by clicking the button.You will see a ¶ symbol at the end of each paragraph.

NOTE: Although you can now see the paragraph markers on the screen at the end of each paragraph, these will not appear on the document when it is printed.
One of the things that are often done using word processing software is to cut and paste text. This feature allows you to move text from one place to another in your document.
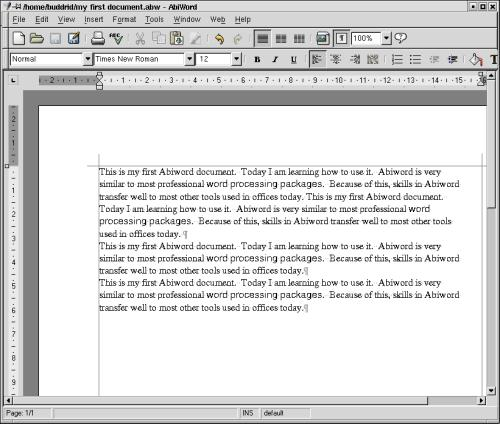
Highlight the first paragraph in your document.(If you entered the suggested text, there is only one paragraph in the document). You should see something like this.
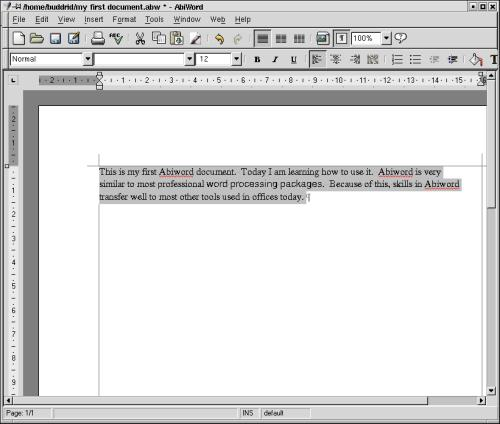
Pull down the Edit menu and choose Cut.The text disappears. What has happened is that Abiword has removed the text from your document and stored it in a temporary area of memory called the clipboard. You can insert whatever is in the clipboard into your document by choosing the Paste command from the Edit menu, which is our next step.
Pull down the Edit menu and choose Paste.The text is re-inserted into the document.
Pull down the Edit menu and choose the Paste option again.You will note that the text is inserted into the document a second time, so that it is now repeated twice in the document. It should look something like this.
Make sure that the cursor is at the very end of the document, and then press Enter.The cursor goes to the beginning of the next line.
Pull down the Edit menu, and choose Paste again.The text that you cut is inserted for a third time. This time however it is in a new paragraph of its own.
Press the Enter key again.Once again the cursor goes to the beginning of the next line.
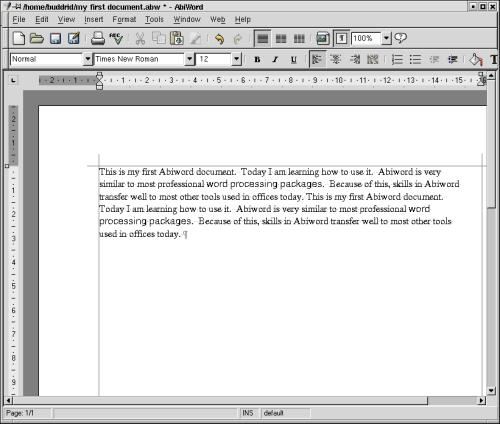
Pull down the Edit menu, and choose Paste again.The text that you cut is inserted for a fourth time. It should look as follows
Note that there are several paragraphs of text in your document. We will now use these paragraphs to experiment with paragraph formatting.
As well as selecting the font that you want to use, Abiword allows you to adjust the way paragraphs are formatted.
Any paragraph formatting you choose is applied to the current paragraph (if there is no selection), or alternately, to all of the selected paragraphs.
Click the mouse once on the first paragraph.
Pull down the Format menu and choose Paragraph.The following dialogue box will be displayed.
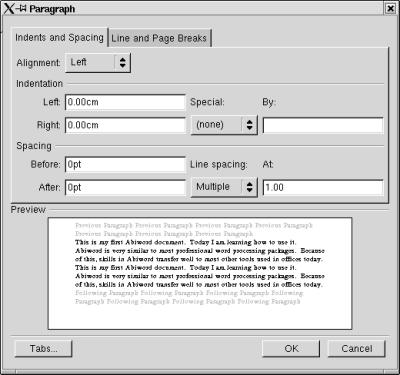
Click on the box next to Alignment that currently contains the word Left.A list is displayed with the options: Left, Centred, Right, Justified.
Click on the option Right.
Click the OK button.The document should now look something like this.
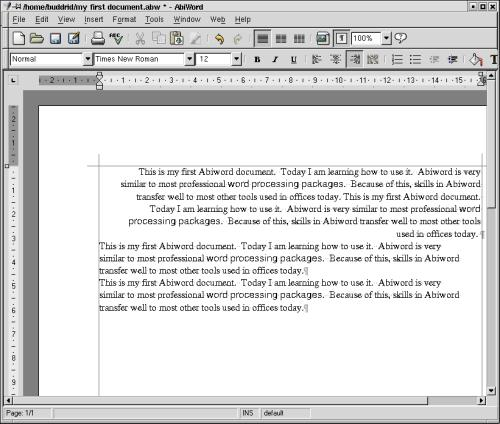
Note that the first paragraph is now lined up on the right hand border. This is called "Right justification", and we say that the paragraph is "right justified". The other justifications that can be done are centered - which as the name suggests would line up each line in the middle of the page, and "Justified", which spreads the text out so that the text is lined up against both left and right hand margins, in the same manner as newspaper articles. You may wish to experiment with setting the paragraph alignment to these other options to see their effect.
Place the cursor in the first paragraph again by pointing at it with the mouse cursor and clicking once with the left mouse button.
Pull down the Format menu and choose the Paragraph option.The Paragraph dialogue box is displayed.
Enter the value 12 into the Before field.
Click the OK button.The document will look like this.
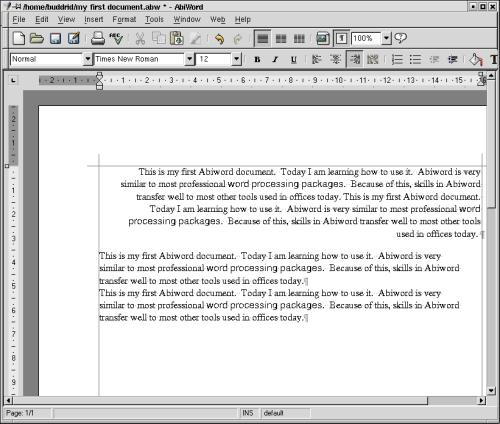
Note that there is now a blank line after the paragraph. Using this technique you can get Abiword to handle paragraph spacing for you.